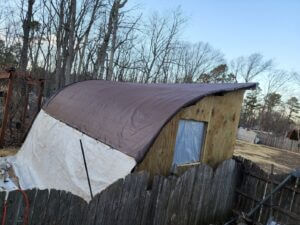
It has been since Thanksgiving that I last posted, and I now want to update what I have done on the homestead since then. The first upgrade was changing my Bunny Barn to a sort-of Greenhouse. Below is an image of what it previously looked like. I had originally built this small structure with a Tarp as the roof. It was cheap to build, and did the job for over a year. The problem was, that the sun broke the tarp down, and over time it started to leak down onto the bunnies. I then upgraded to a pond liner. I put grommets in the pond liner, and covered the roof with that, leaving space at the bottom of the barn for air flow. This worked well to protect from rain, but became very hot in the summer. I then upgraded the barn with a vent fan that turns on when the temperature gets too hot. Although with all the venting I had built the Bunny Barn with, I don’t think it did a great job of moving the heat out of the Barn, but it was AN improvement.
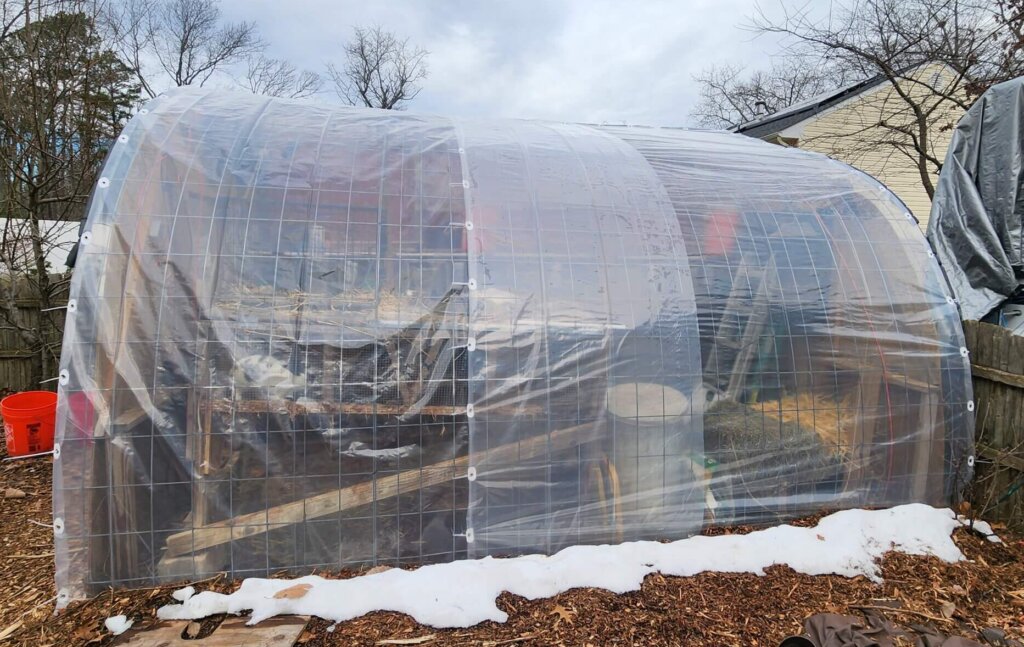
But, with winter coming, I needed to do something to make the Bunny Barn warmer through the cold season. I had thought about making a small masonry stove in there (like a rocket mass heater), but that would take a lot of manual inputs both to build and to maintain heat in there. I found the simplest option would be to replace the roof with clear greenhouse plastic. The curved roof faces South, so it is in the perfect alignment to benefit from a greenhouse effect in winter.
To make the roof, I started with 6mil plastic sheeting from Home Depot. To this, I needed to add grommets to make securing points to hold it to the cattle panel structure. My concern was, with some of the wind storms we get, it may not hold up if I just put the grommets through the plastic sheeting. I needed something to make the connections stronger.
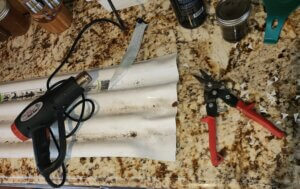
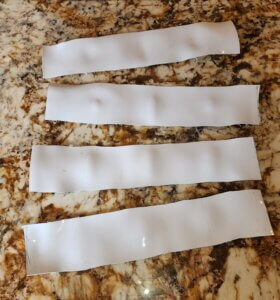
Doing a search of my property, I found some corrugated plastic roofing that was left over from another job. I needed to flatten out the plastic and cut it into tabs to punch through to make stronger grommet connections. Here is how I did it.
- I cut strips of the roofing with tin snips.
- I then used a heat gun to flatten them out the best I could
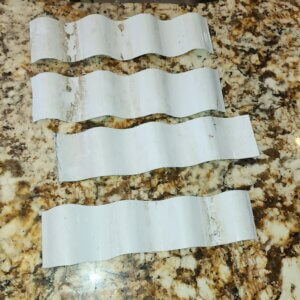
- I then cut the strips into smaller tabs and rounded the corners so as not to poke through the greenhouse plastic.
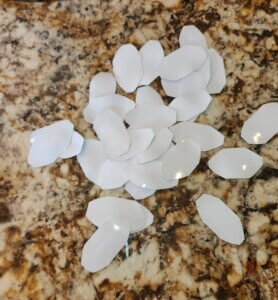
Once I had these tabs, I was able to start putting the grommets in the plastic sheeting. I placed them about every foot along the edge that would need to be tied down. I did this by folding the plastic over the tab so the plastic tab was sandwiched between the plastic sheeting. I then punched a hole through both layers of the plastic sheeting and the tab and installed the grommet. [Here is the (associate) link to grommet kit I used for both the pond liner and greenhouse roofing.]

I needed to do this for 2 separate sheets as I didn’t have the appropriate size to meet the dimensions of the Bunny Barn. Once all the tabs and grommets were installed, I had to remove the old roofing and install the new greenhouse sheeting. Using Zip Ties, I connected the clear plastic sheeting to the cattle panel frame at the top and along the sides. There is significant overlap in the middle of the structure to prevent any leaking between the sheets.
I chose to make the bottom edge a foot or so longer then the structure so that I could burry the end making a sealed edge. This will be better for trapping heat inside the Bunny Barn, and will make it easier if I choose to open the bottom edge in the spring to prevent heat buildup inside for the warmer months. Once the Bunny Barn starts to heat up more, I will replace the Pond liner roof on top of the Greenhouse plastic. This will provide shade and stop the greenhouse effect. A more appropriately sealed bunny barn will allow the vent fan to move more heat out of the structure… At least that is my hope. Only time will tell.
One more thing I did to help increase the heat, and help overnight, is to utilize their waste (both manure and hay) to compost inside the greenhouse. I piled all their manure and spent hay/straw together and wet it down. Within hours it was heating up!
This not only provides an additional heat source for the bunnies, but is also an beneficial use of the wasted straw/hay that falls to the ground. Come Spring, I will have rabbit manure-based compost to spread on the garden beds to help fertilize for the coming growing season.
Any thoughts or comments would be welcome!